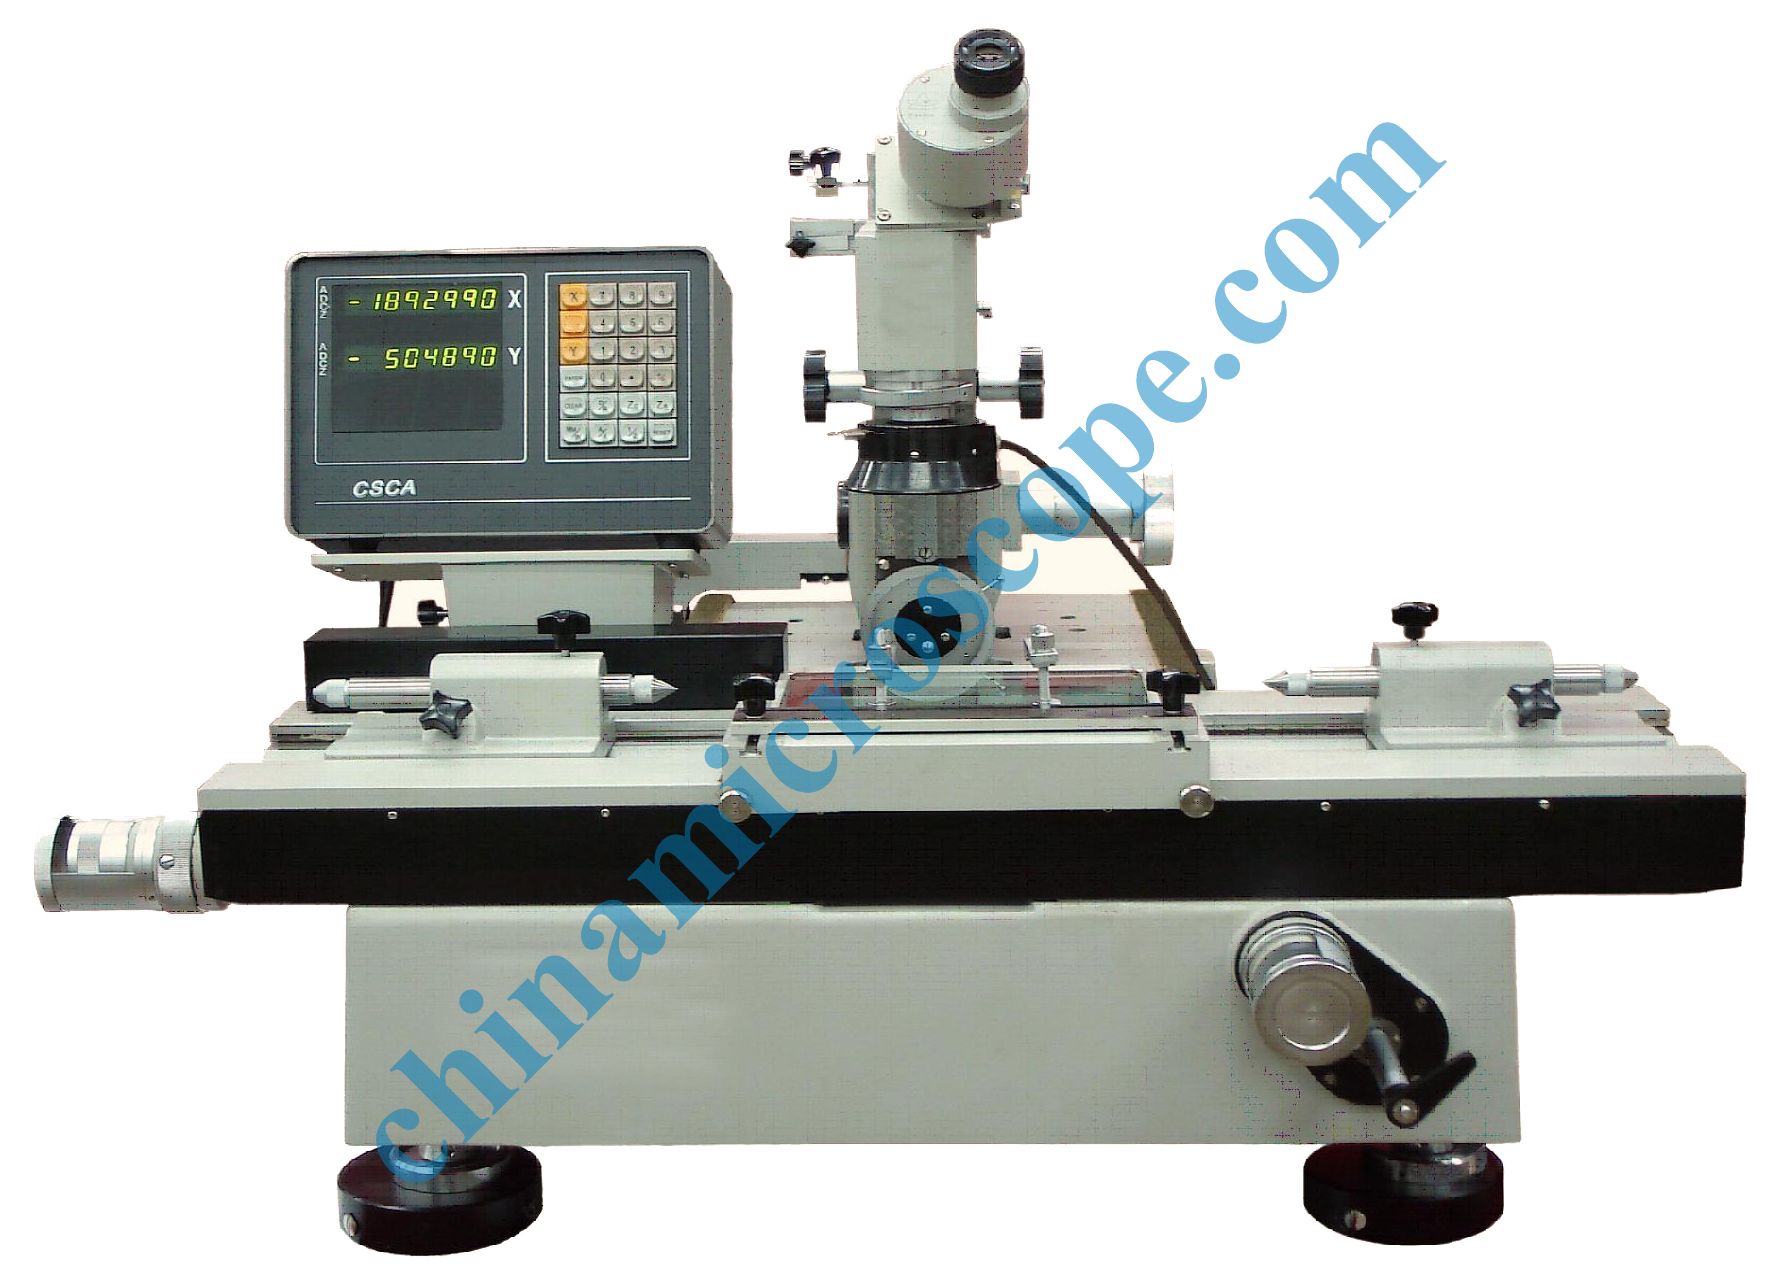
Classify type of measuring instrument universal tool microscope 19JC nearly contains all measures of testing geometry. With complete function, high precision, convenient operation and durability, this instrument is normal equipment in precise machinery field, effective testing gist for measure & examination dept., and right hand of science research and teaching field.
Adopting grating subdivision and digital technology, 19JC has the characters of direct reading and good consistency, which greatly improves work efficiency and further enlarge use range.
Digital-display device of this instrument has data output interface, which may be extended to contact with planar data gather and computer measure operating system to upgrade as 19JPC microcomputer-type all-purpose tool microscope.
Universal Tool Microscope (Digital display type) 19JC is projection of the 19JA million workers improved significantly, the use of sub-gratings and digital technology, intuitive readings and consistency with good characteristics such as increased efficiency, to further expand the scope of the use.
Instrument Digital Interface data output table can be extended to connect two-dimensional data acquisition system and computer measurement of the operating system to upgrade its computer-based universal tool microscope 19JPC.
1. Main technical specification of universal tool microscope 19JC
Measuring range and division value X-Y-coordinate
Measuring range 200×100㎜ Division value 0.0005㎜
Collimation microscope Lifting distance:120mm
Arm of force inclining range: both 15°left and right Division value: 10′
Illumination grating adjusting range: φ3~φ32㎜ Division value:1㎜
Clinometers eyepiece Angle measuring range: 360° Division value: 1′
Figure eyepiece Angle measuring range: ±7° Division value:10′
Circulate arc reticle Curvature radius: R 0.1~100㎜
Screw reticle Common screw distance t = 0.25 - 6㎜
Trapezium screw distance t = 2 - 20㎜
Optical indexing table Measuring range: 360° Division value:10″ (projected value)
(Optional) Diameter of glass table φ106㎜
Optical dividing head Measuring range: 360°Division value:1′
Optical localizer Diameter of measuring head φ 3±0.1㎜
(Actual high-point diameter error can not more than 0.5μm.)
Measuring force 8 -14g
Max. measuring depth 15㎜
Glass worktable Glass worktable dimension: 215×130㎜
Thimble bracket Max. clamping diameterφ100㎜
Max. clamping length: diameter of tested part≤ 55㎜,750mm
diameter of tested part > 55㎜,600mm
High thimble bracket Max. clamping diameter: φ180㎜
Max. Clamping length:600mm
V-type bracket:
Left V-type bracket front and behind adjusting range: Both5mmfront and behind.
Right V-type bracket upper and downward adjusting range: Upper15mm/ Downward3mm
Max. Carrying Capacity:40kg
2. Optical parameter of collimation microscope
|
Tag value of objective’s magnification |
1x |
3x |
5x |
|
|
Total magnification |
Clinometer or figure eyepiece |
10x |
30x |
50x |
|
Double-image eyepiece |
15x |
42x |
65x |
|
|
Field of view (mm) |
Clinometer or figure eyepiece |
φ20 |
φ6.6 |
φ4 |
|
Double-image eyepiece |
φ13
|
φ4.7 |
φ3 |
|
|
Working distance (mm) |
Clinometer or figure eyepiece |
81 |
90 |
65 |
|
Double-image eyepiece |
47 |
85 |
63 |
|
3. Instrument precision
Temperature requirement (1) Workroom temperature should be 20 ±2 ℃.
(2)Workroom temperature change can not exceed1 ℃per hour.
(3)Tested part and instrument temperature difference can not exceed0.5 ℃.
In the condition of meeting all temperature requirements, the instrument has the following guarantee:
(1)X-Y-coordination: When using glass millimeter ruler to examine, the Max. Un-precision of the instrument is (1 + L / 100)μm. L: Measuring length. Unit is mm
When the ruler corrects according to correction table, X-direction can not be more than 0.0035㎜. Y-direction can not be more than 0.0025.
(2) Clinometers eyepiece: Max. tolerance: not more than 1′.
(3) Double-image eyepiece: Instability of imaging: not more than 0.0005㎜
Incorrectness of imaging: not more than 0.001㎜.
(4)Optical dividing head: Max. tolerance: not more than 1′.
(5)Optical indexing table: Max. tolerance: not more than 30″ (optional).
(6)Optical graduator: Instability of measuring: not more than 0.001㎜.
Incorrectness of measuring: not more than 0.0015㎜
4. Weight of instrument and overall dimension
Mainframe net weight: 250kg
Overall dimension: (L ×W × W):980 ×1020 ×640 mm