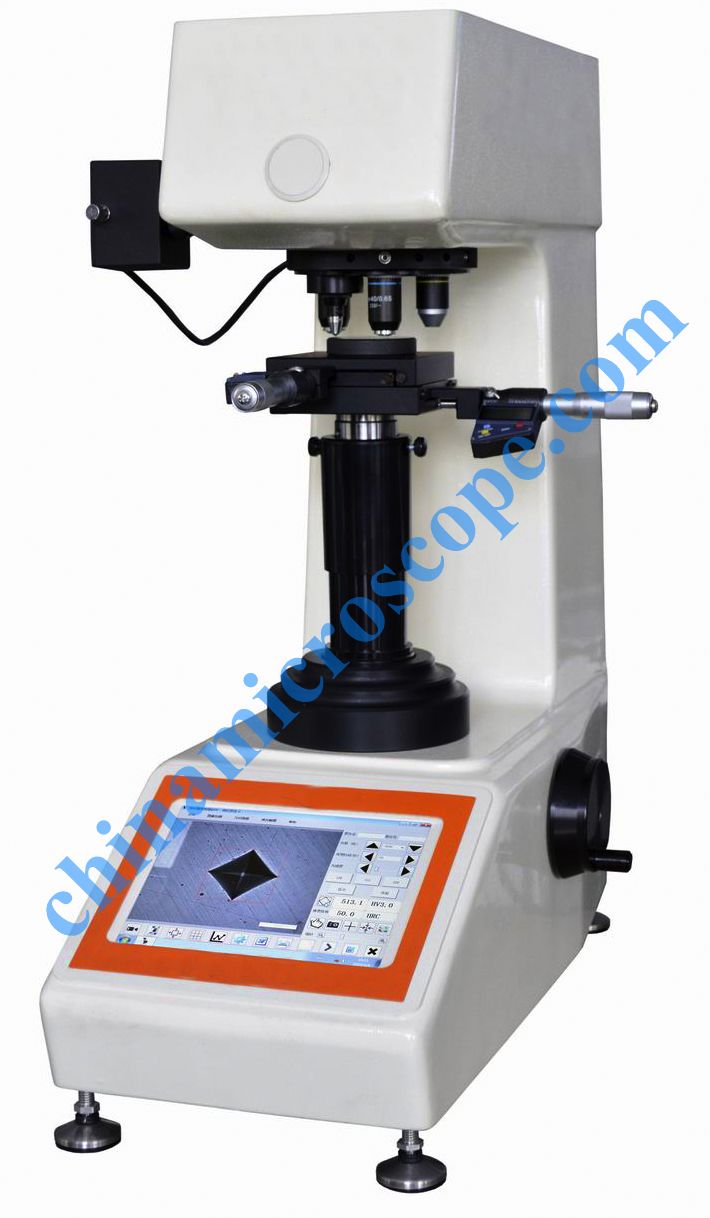
XHVT-50Z Vikers hardometer
Brief introduction:
This instrument is a new
generation of Vickers hardness tester. It adopts the integrated design of
hardness tester and computer; all the testing parameters can be selected on the
panel computer. With touching screen, it operates quickly and conveniently and
displays clearly and intuitively. With CCD image acquisition system, it can
show dynamic indentation image, lock the image and automatically get the
Vickers hardness value. With high measuring accuracy and stable performance, it
avoids human errors and achieves domestic advanced level.
Main features:
· Integrated design of hardness
tester and computer. With Windows 7 operating system, it has all functions of
computer. It can also be connected to the monitor, printer and other output
devices.
· With three measuring objectives,
automatic recognition and shifting between the objective and the indenter.
· The lifting screw adopts the worm
and gear structure for smooth transmission.
· Test force application: automatic
loading, dwelling and unloading.
· With the function of hardness scale
conversion.
· It can automatically save the
measuring data, generate the hardness-depth curve and save as WORD document.
· With built-in CCD image automatic
measuring system, the indentation displays clearly and intuitively and the
hardness value can be automatically got.
· It can be equipped with X-Y
automatic test table (optional) to realize the automation of Vickers hardness
testing.
Technical parameters:
1. Test force: 0.3, 0.5, 1, 2, 2.5, 3, 5,
10, 20, 30,50 kg
2.Test force application method: Automatic
loading, dwelling and unloading
3.Shifting method between indenter and
objectives: Automatic shifting
4. Dwell time of the test force: 0~60s
5.Digital camera pixel: 1.3 million
6.Optical system:
Eyepiece
Objective
Total Amplification
Min. Test Unit
10×
10×
100×
0.25 μm
20×
200×
0.125 μm
40×
400×
0.0625 μm
7.Specimen:
The Max. Height:180 mm
The Max. Depth:130 mm(From the center)
8.Overall dimension (L×W×H): 560×335×635 mm