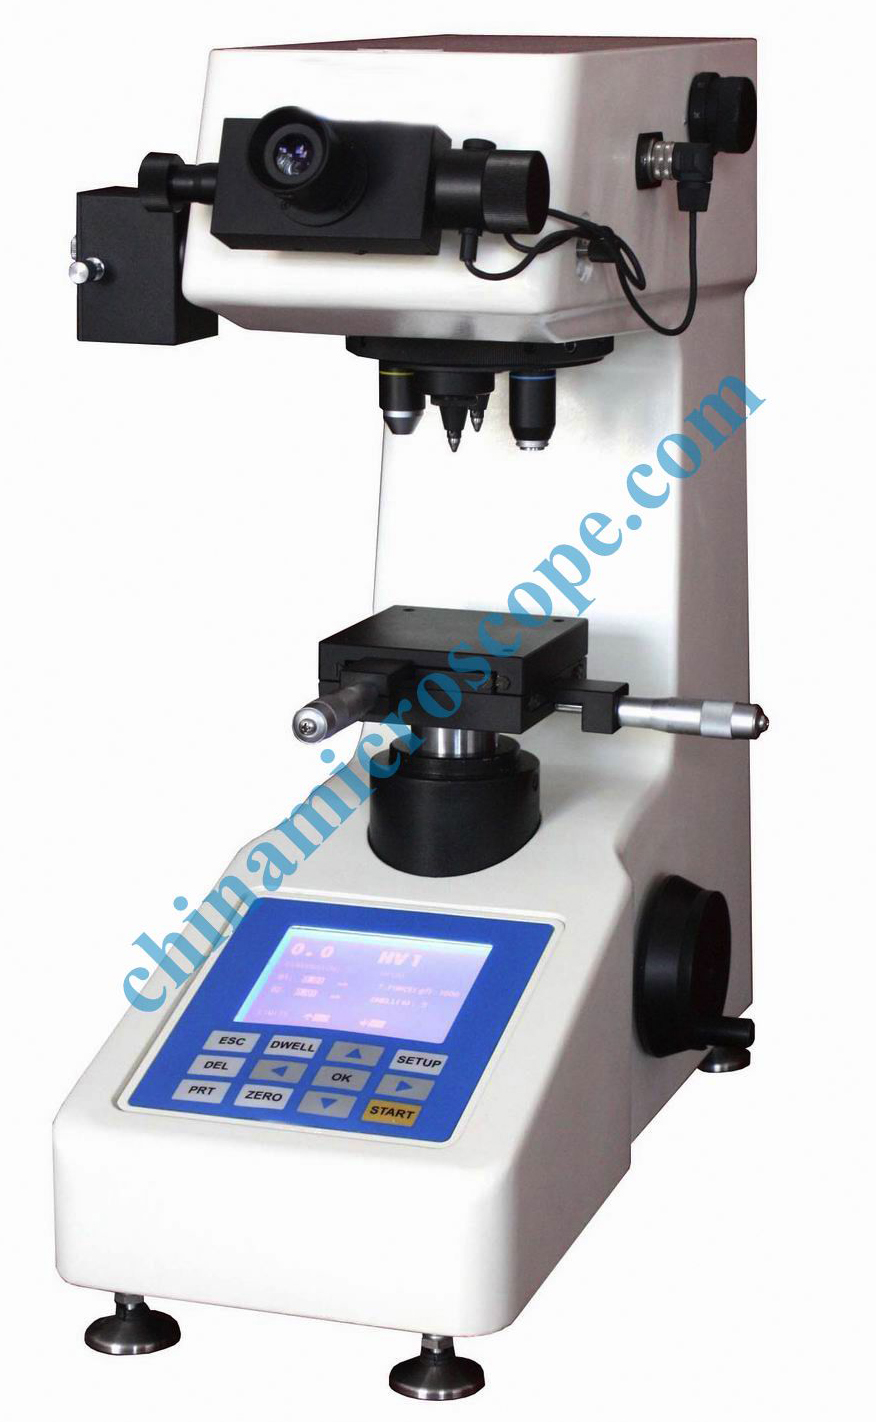
404SXV micro hardness tester
Description:
1. The Micro Vickers and Knoop hardness tester is a new-type hardness testing instrument adopting the precision mechanism and photoelectric computer software. The instrument can be used to test the Vickers or Knoop hardness. The hardness is calculated out with tested value of diagonal to be input into the unified computer.
2. The Micro Vickers and Knoop Hardness Tester is used for the testing of the metallic materials such as the small components, the thin plates, the metallic foil, the fine-quality electric cables, the thin hardness layers the electroplated layers as well as the non-metallic materials that cannot be tested with a great test force, such as the glass, the jewelries and the ceramics. It is particularly important that the tester can be used to the internal hardness of the induction hardened or carburized materials according to the metallic structure.
3. The hardness testing is divided into two parts: the first part, using the known test force to drive the diamond indenter into the surface of the material to be tested; the second part, the client has measured the length of the diagonal of the indentation, and input the data into the main computer, which will calculate out the Vickers hardness value or the Knoop hardness value.
4. The difference between the Vickers and Knoop hardness test lies in the use of the different indenters. The Vickers indenter is a pyramid-shaped indenter with a square bottom while the Knoop indenter is a pyramid-shaped indenter with a rhombus-shaped bottom. Besides the Vickers test should measure two diagonals whereas the Knoop hardness test needs to measure only one diagonal.
Technical Specifications
1. Testing scales:
Vickers Scales: HV0.01, HV0.025, HV0.05, HV0.1, HV0.2, HV0.3, HV0.5, HV1
(Knoop Scales: HK0.01, HK0.025, HK0.05, HK0.1, HK0.2, HK0.3, HK0.5, HK1)
2. Units of the test forces: gf,mN
3. Test forces: (gf) 10, 25, 50, 100, 200, 300, 500, 1000(1K) (m N) 98, 245, 490, 980, 1960, 2940, 4900, 9800
|
Attention: The present hardness tester may have the optional specially–made a set of weights (to be provided according to the contract) for the test of the Vickers hardness with the 2000gf (19610 mN) test force. |
4. Selection of the test force: Turn the test force changing hand wheel. The chosen test force will be shown on the screen.
5. Carriage-loading control: Automatic (loading/dwell/unloading)
6. Dwell time: 0-95 seconds (5 seconds as the increase amount)
7. Test mode: HV/HK
8. Hardness value: Measure the indentation by hand, and the measurement reading will be input automatically. The calculation and the indication of the hardness value are automatic.
9. Language: English
10. Optical system
|
Objectives |
10×(observation) |
20×(measurement) |
40×(measurement) |
|
Lateral Microscopes |
10× |
||
|
Total Amplifications |
100×(observation) |
200×(measurement) |
400×(measurement) |
|
Max. Measurement Field |
|
400μm |
200μm |
|
Resolving power |
|
0.03μm |
0.015μm |
11. X-Y Testing Table
Dimension: 100×100mm
Travel: 25×25 mm
Resolving Power:0.01mm
12. Specimen
The Maximum Height:90mm
The Maximum Depth:120mm(measured form the center)
13. Energy-saving mode: After 10 minutes of non-use it enters the repose mode automatically.
14. Light Source: 12V/20W
15. Illumination of the light source: Several grades, adjustable
16. Power source: 220V, 50/60Hz
17. Dimension of the instrument: 495×305×550mm
18. Weight of the instrument: About33kg